

The Step-by-Step DIY Playbook
Upgrading to a smart thermostat installation is one of the smartest weekend projects you can take on as an Upstate SC homeowner. It keeps your house comfortable during our unpredictable spring swings and helps trim down those hefty summer Duke Energy bills.
If you search the web for a guide, you will find plenty of generic, one-size-fits-all advice telling you to “strip the wires and match the colors.” But installing a thermostat in a Greenville bungalow built in 1940 is radically different from putting one in a new construction neighborhood in Simpsonville.
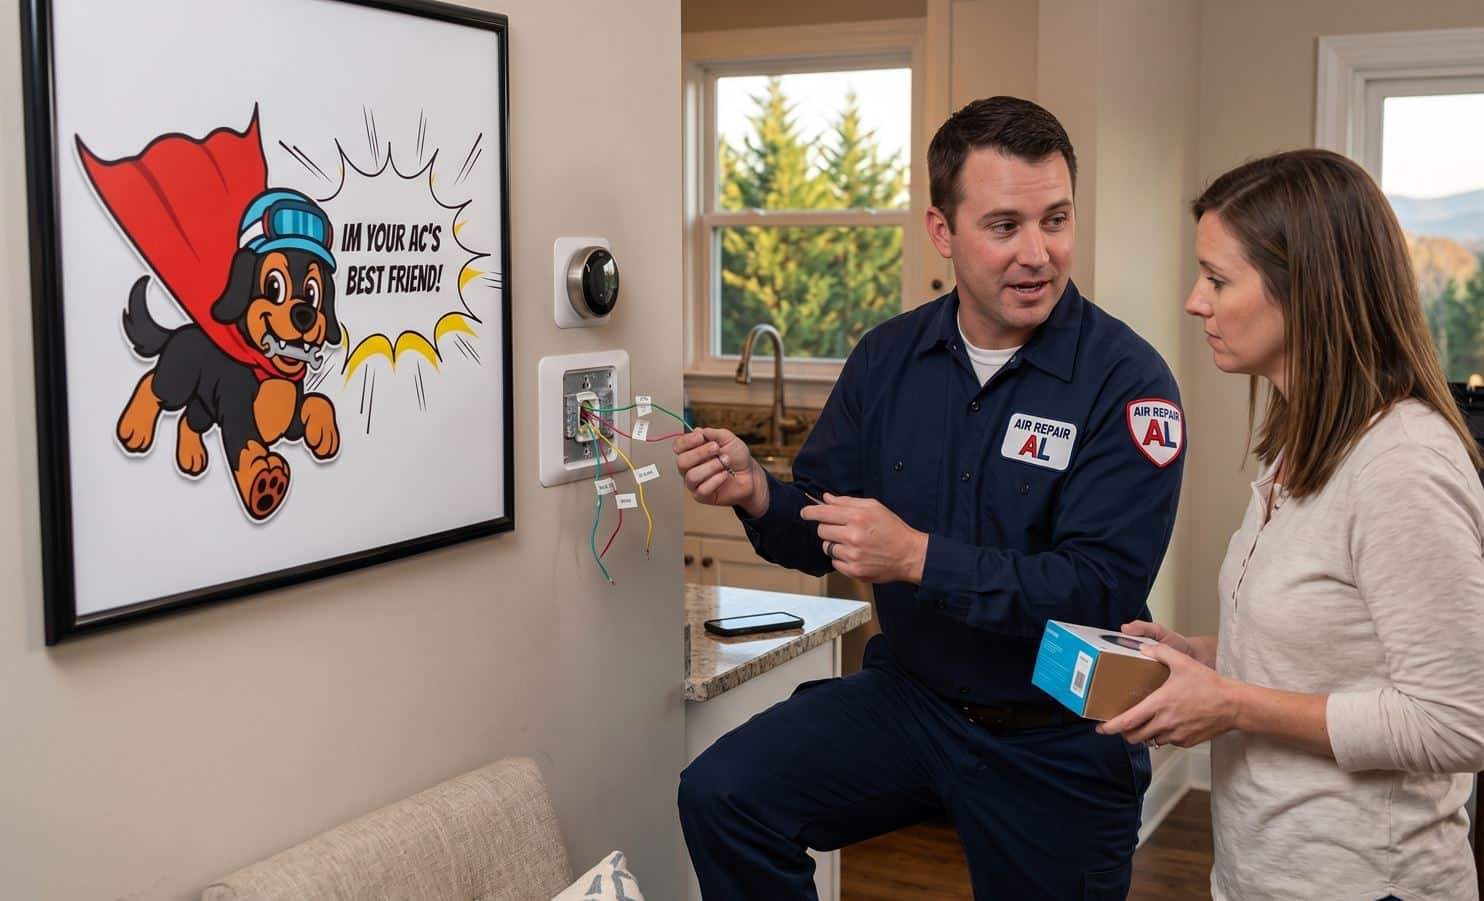
At Air Repair AL, we have been called out to fix hundreds of DIY thermostat installations gone wrong. Before you take your old unit off the wall, let’s look at how to get this job done right, keep your system completely safe, and navigate the unique quirks of South Carolina HVAC engineering.
Step 1: Kill the Power at the Source
Do not just turn off the thermostat on its screen. Walk down to your main electrical panel and flip the breaker labeled “Furnace,” “Air Handler,” or “HVAC.”
-
Air Repair ALField Check: To make absolutely sure the power is dead, turn your system’s fan setting to “ON.” If you hear air moving through your vents, the circuit is still live. Working on live low-voltage wires can easily pop a tiny 3-amp or 5-amp fuse hidden deep inside your indoor unit’s control board, immediately shutting down your home’s climate control.
Step 2: The Golden Rule Photo
Pop off your old thermostat’s faceplate. Stop right there and take a crisp, clear photo of the terminal letters and wire colors with your phone. Do not guess based on wire color.
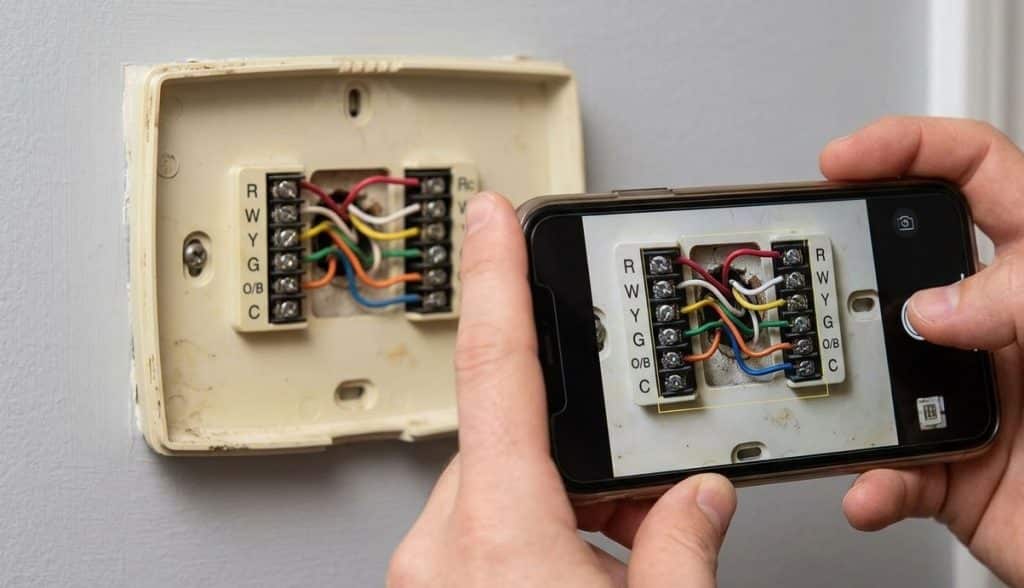
In the HVAC world, an orange wire isn’t always hooked to an “O” terminal, and a blue wire isn’t guaranteed to be your common ground. Trust the stamped letters on the old plastic plate, not the color of the plastic insulation jacket.
Step 3: Label, Secure, and Remove
Disconnect the wires one by one. As you pull each wire free, wrap it with a small piece of painter’s tape labeled with its corresponding letter.
-
Pro Tip: Wrap the bundle of loose wires around a pencil or a thick screwdriver. If you let go of them, the heavy copper wire can easily slip right back through the hole in your drywall, leaving you fishing blindly inside the wall cavity.
Step 4: Mount the New Baseplate
Unscrew the old wall plate and pull the labeled wires through the center opening of your new thermostat’s base. Hold it up, make sure the built-in bubble level shows it’s straight, and secure it to your drywall using the provided anchors and screws.
Step 5: Connect the Wires to the Matching Letters
Insert each labeled wire directly into its corresponding terminal slot on the new baseplate until it clicks securely into place.
Step 6: Power Up and Run the Critical Digital Setup
Snap the new display unit onto the wall plate and turn the circuit breaker back on. Your thermostat will power up and guide you through an on-screen configuration wizard. Do not rush through this step. As you will read below, picking the wrong settings here is exactly how DIY projects turn into system failures.
The Hidden Traps Unique to Greenville Homes and Mistakes That Can Fry Local Systems
If you follow standard instructions, you are highly likely to hit one of these three local roadblocks.
Here is what we see in the field every single week:
1. The O vs. B Heat Pump Confusion
Because heat pumps are incredibly popular across the Upstate, almost every local thermostat will utilize an “O/B” wire. This wire controls your system’s reversing valve, which dictates whether your equipment runs in cooling mode or heating mode.
Here is the catch: different manufacturing brands read this signal completely differently.
- If your home uses a Rheem or Ruud system, the valve defaults to heating when it loses power, meaning your thermostat must be digitally configured to send a “B” signal.
- If your home uses a Trane, Carrier, or Lennox system, it defaults to cooling, requiring an “O” signal.
If you don’t adjust this specific option during your thermostat’s initial software setup, your air conditioner will blow blistering hot air in the middle of a July afternoon.
2. The Hybrid System Cross-Over
Many homes in older Greenville neighborhoods like Augusta Road or North Main rely on a Dual-Fuel or hybrid setup.
This means you have an electric heat pump providing efficient air conditioning and mild heating, but when our winter temperatures take a nose-dive, the system shuts off the heat pump and fires up a Piedmont Natural Gas backup furnace.
If you connect a standard smart thermostat to a dual-fuel system without setting up an outdoor ambient temperature sensor (or configuring the thermostat to pull local Greenville weather data over Wi-Fi), it won’t know when to switch sources.
It could try to run your electric heat pump compressor and your gas furnace burners at the exact same time, which creates excessive heat inside your indoor coil and can permanently crack your heat exchanger.
3. The C-Wire Phantom Voltage Drop
Modern smart thermostats like Nest or Ecobee operate like mini-computers. They have full-color displays and constant Wi-Fi connectivity, which means they require a steady 24-volt stream of electricity via a Common “C” wire.
If you live in an older home, you might pull your old thermostat off the wall and find absolutely no C-wire available. Online tutorials often tell you to buy a cheap, third-party 24V adapter that plugs into a standard wall outlet and runs up the drywall.
Please avoid doing this. In our damp Upstate crawlspaces, unshielded external transformers often create a dangerous ground loop or introduce phantom voltage drops to your furnace’s motherboard.
If you don’t have a C-wire, the safest approach is installing a dedicated Add-A-Wire component directly inside your indoor unit’s control board to multiplex the fan signal, or simply calling in a professional to pull a fresh, modern 18-gauge wire bundle through the wall.
Need a Little Help?
While changing a thermostat is a fantastic DIY project, it can quickly get complicated if your wiring doesn’t match the manual or if you are balancing a complex dual-fuel system. If you open up your wall and feel stuck, don’t risk damaging your HVAC system.
Don’t wait until a small HVAC issue turns into a costly repair. Give the local team at Air Repair AL a call at 864-777-1111 today and get the fast, reliable service your home deserves.
Whether you need expert advice, a repair, maintenance, or a system replacement, our experienced team is ready to help. Prefer to reach out online? Contact us online anytime with your questions.
We will make sure your new tech is integrated perfectly, safely wired, and perfectly calibrated to keep your family comfortable all year long.
Related Thermostat Information
Common Thermostat Error Codes Explained for Greenville Homeowners
Does Turning Your Thermostat Lower Make Your House Cool Faster?